WEEK 1
Kick-off
ASSIGNMENT
The idea was to make a portrait for the person you work with to get to know each other better. I decided to work with Katharina van Eck.
The first step was to get to know each other by asking a few questions about each other's lives. Katharina told me a few interesting subjects that I wanted to use for the portrait.
The next step was to make a drawing of each other without looking at the paper. Miraculously, my drawing came out better than expected.
I took a picture of the drawing with "Adobe Capture". I opened the image in Illustrator and made a vector drawing with "Threshold-Black & White".
(See images 1 and 2)
By using "Expand" I have made a line drawing. Now I can use the drawing for other purposes.
MINOR MAKERSLAB
2019
1. Drawing by hand without looking at the paper.
Made by: Melissa de Bie
2. Vector Drawing in Illustrator, Treshold - Black&White
Made by: Melissa de Bie
Make an interactive sound portrait to introduce your classmate (or one of his/her signature traits) to the rest of the class.
Your portrait contains;
- Image (drawing, self-made object, otherwise)
- Sound (freesound mp3, self-recorded sound, otherwise)
- Interaction (trigger the sound through any conductive material, in such a way that it reflects the classmate’s character)
Collaborating
Practicing with Arduino
We got an introduction from Shirley Niemans about Arduino and conductive materials.
The next step for the assignment was to practice with the Arduino Board. I never worked with Arduino but Katharina has. So she tried to explain to me how it works. She even downloaded the Arduino app on my laptop.
For the assignment we had to choose a few sounds ourselves Before we could start every pair got an Arduino Board to work with. We chose for drum sounds.
We wanted to emphasize this by making drawings from several drum parts. We used iron wire as conductive material.
Fortunately, the paper was thin enough for the iron wire to react.
Introduction of Makerslab
During the first week we got a tour through the Makerslab. We received a brief introduction about the machines and how they work. This was necessary so that we can handle the machines ourselves.
Putting the portrait together!
In the beginning I had no inspiration whatsoever about making. So I started the project by testing the Makerslab machines. To practice with the laser cutter, I decided to cut Katharina's vector drawing out of birch plywood with a thickness of 4 mm.
To prevent burn marks on the top, I used transfer paper. It actually works pretty well, but the other side of the face did have burn marks. So that means that next time I also have to stick the other side to prevent fire stains.
5. Cloud produced by Vacuumforming
Made by: Melissa de Bie
UV Printer
Vacuum forming
How to add the Conductive Materials...
4. Face of Katharina made with laser cutter
After much thought, I wanted to test the vacuum former. I wanted to make a 3D cloud. I made the cloud by using the outline of a drawing that I found on a friend's Facebook. (see figure 6)
By using "reverse image search" I found the image online on Pinterest. At first I made a vector drawing in Illustrator. Then I used the laser cutter to cut this file to make a mold for the vacuum former. In this file I wanted to cut the in- and outside of the cloud. I did this to create depth.
Before I could use the vacuum former, I had to wait 20 minutes for the machine to warm up. When the vacuum former was ready I used a white PVC sheet with a thickness of 0,5 mm. I had to heat the plate for 20 seconds and pull the trigger. After I took the sheet out of the machine it was hard to pull the mold out of the vacuumsheet.
The first time vacuum forming did not go well. I accidentally heated the plate for too long, causing the material to wrinkle
Made by: Melissa de Bie
6. Artisitc drawing from facebook
3. Practicing with Arduino and sounds
Made by: Melissa de Bie
With the use of the UV printer I printed "image 6" on the same material that I used for the vacuum former. I have given the image exactly the same size as the cloud. I did not know that I had to take the material thickness into account.
So I had to cut the image a little around the edges, otherwise it wouldn't fit. I chose this image because Katharina likes to draw and has a very creative mind. So the cloud stands for the idea's that pop up in her head during the day.
Made by: Melissa de Bie
Source
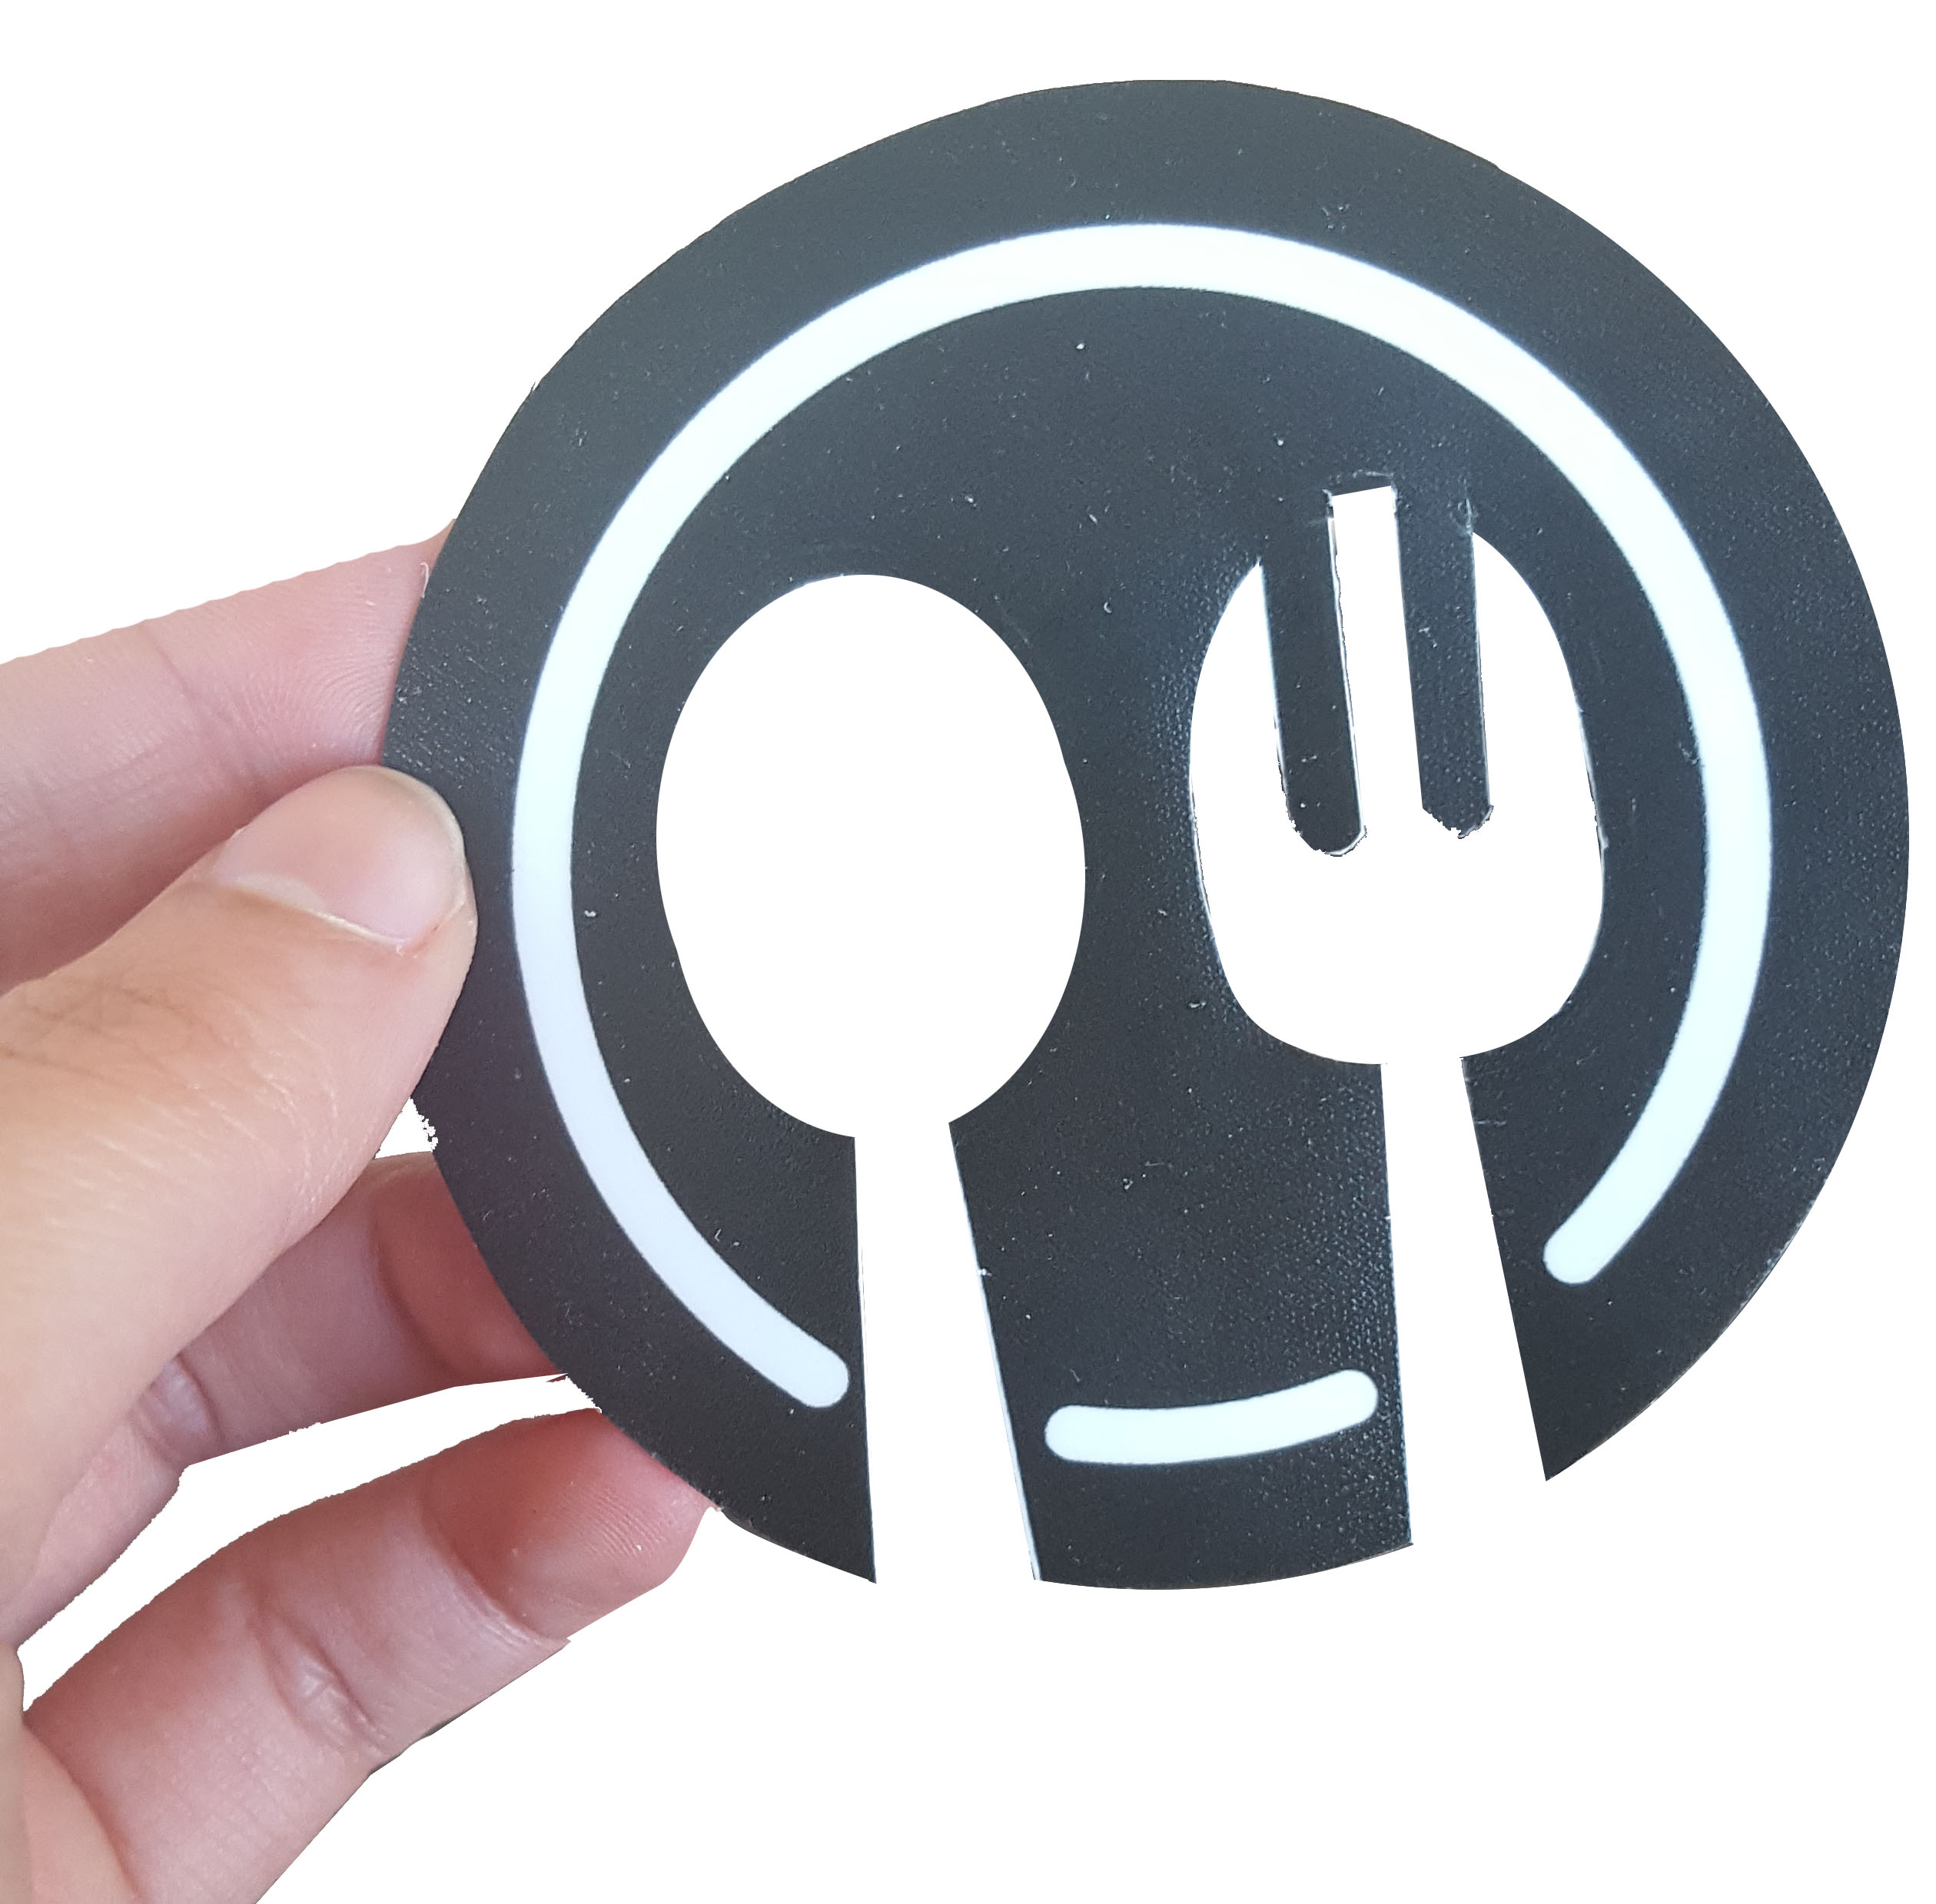


The second image I have chosen is a restaurant logo.
I chose this image because Katharina works in the hospitality industry in her spare time to make some money. She enjoys giving people the best experience while working. She is happy when she sees people leave with a smile on their face. This is necessary because you want customers to come back.
She works 3 till 4 times a week. She has to work so much to maintain herself, because she shares an apartment with a friend in Amsterdam.
Not only does this logo represent the hospitality industry, but also the service with a smile. That is why I think this image is a good pick for Katharina.
I printed the picture at the same time as "image 6". Neza Prapronik helped me with the settings for the printer. She got a little introduction during the tour through Makerslab. For the settings we used a layer of color and a layer of varnish to give the image a shiny layer. After printing, I cut the spoon and fork out of the logo. (see image 9)
I used tinfoil as conductive material to stick behind the logo. I chose this material because a spoon and fork are always made of metal with a silver color. (see image 10)
Source
8. Restaurant Logo, smiley
7. Artisitc drawing merged with the cloud
Made by: Melissa de Bie
Hospitality Industry
9. Restaurant Logo,printed with the UV printer
Made by: Melissa de Bie
10. Restaurant Logo with tinfoil as conductive material
Made by: Melissa de Bie
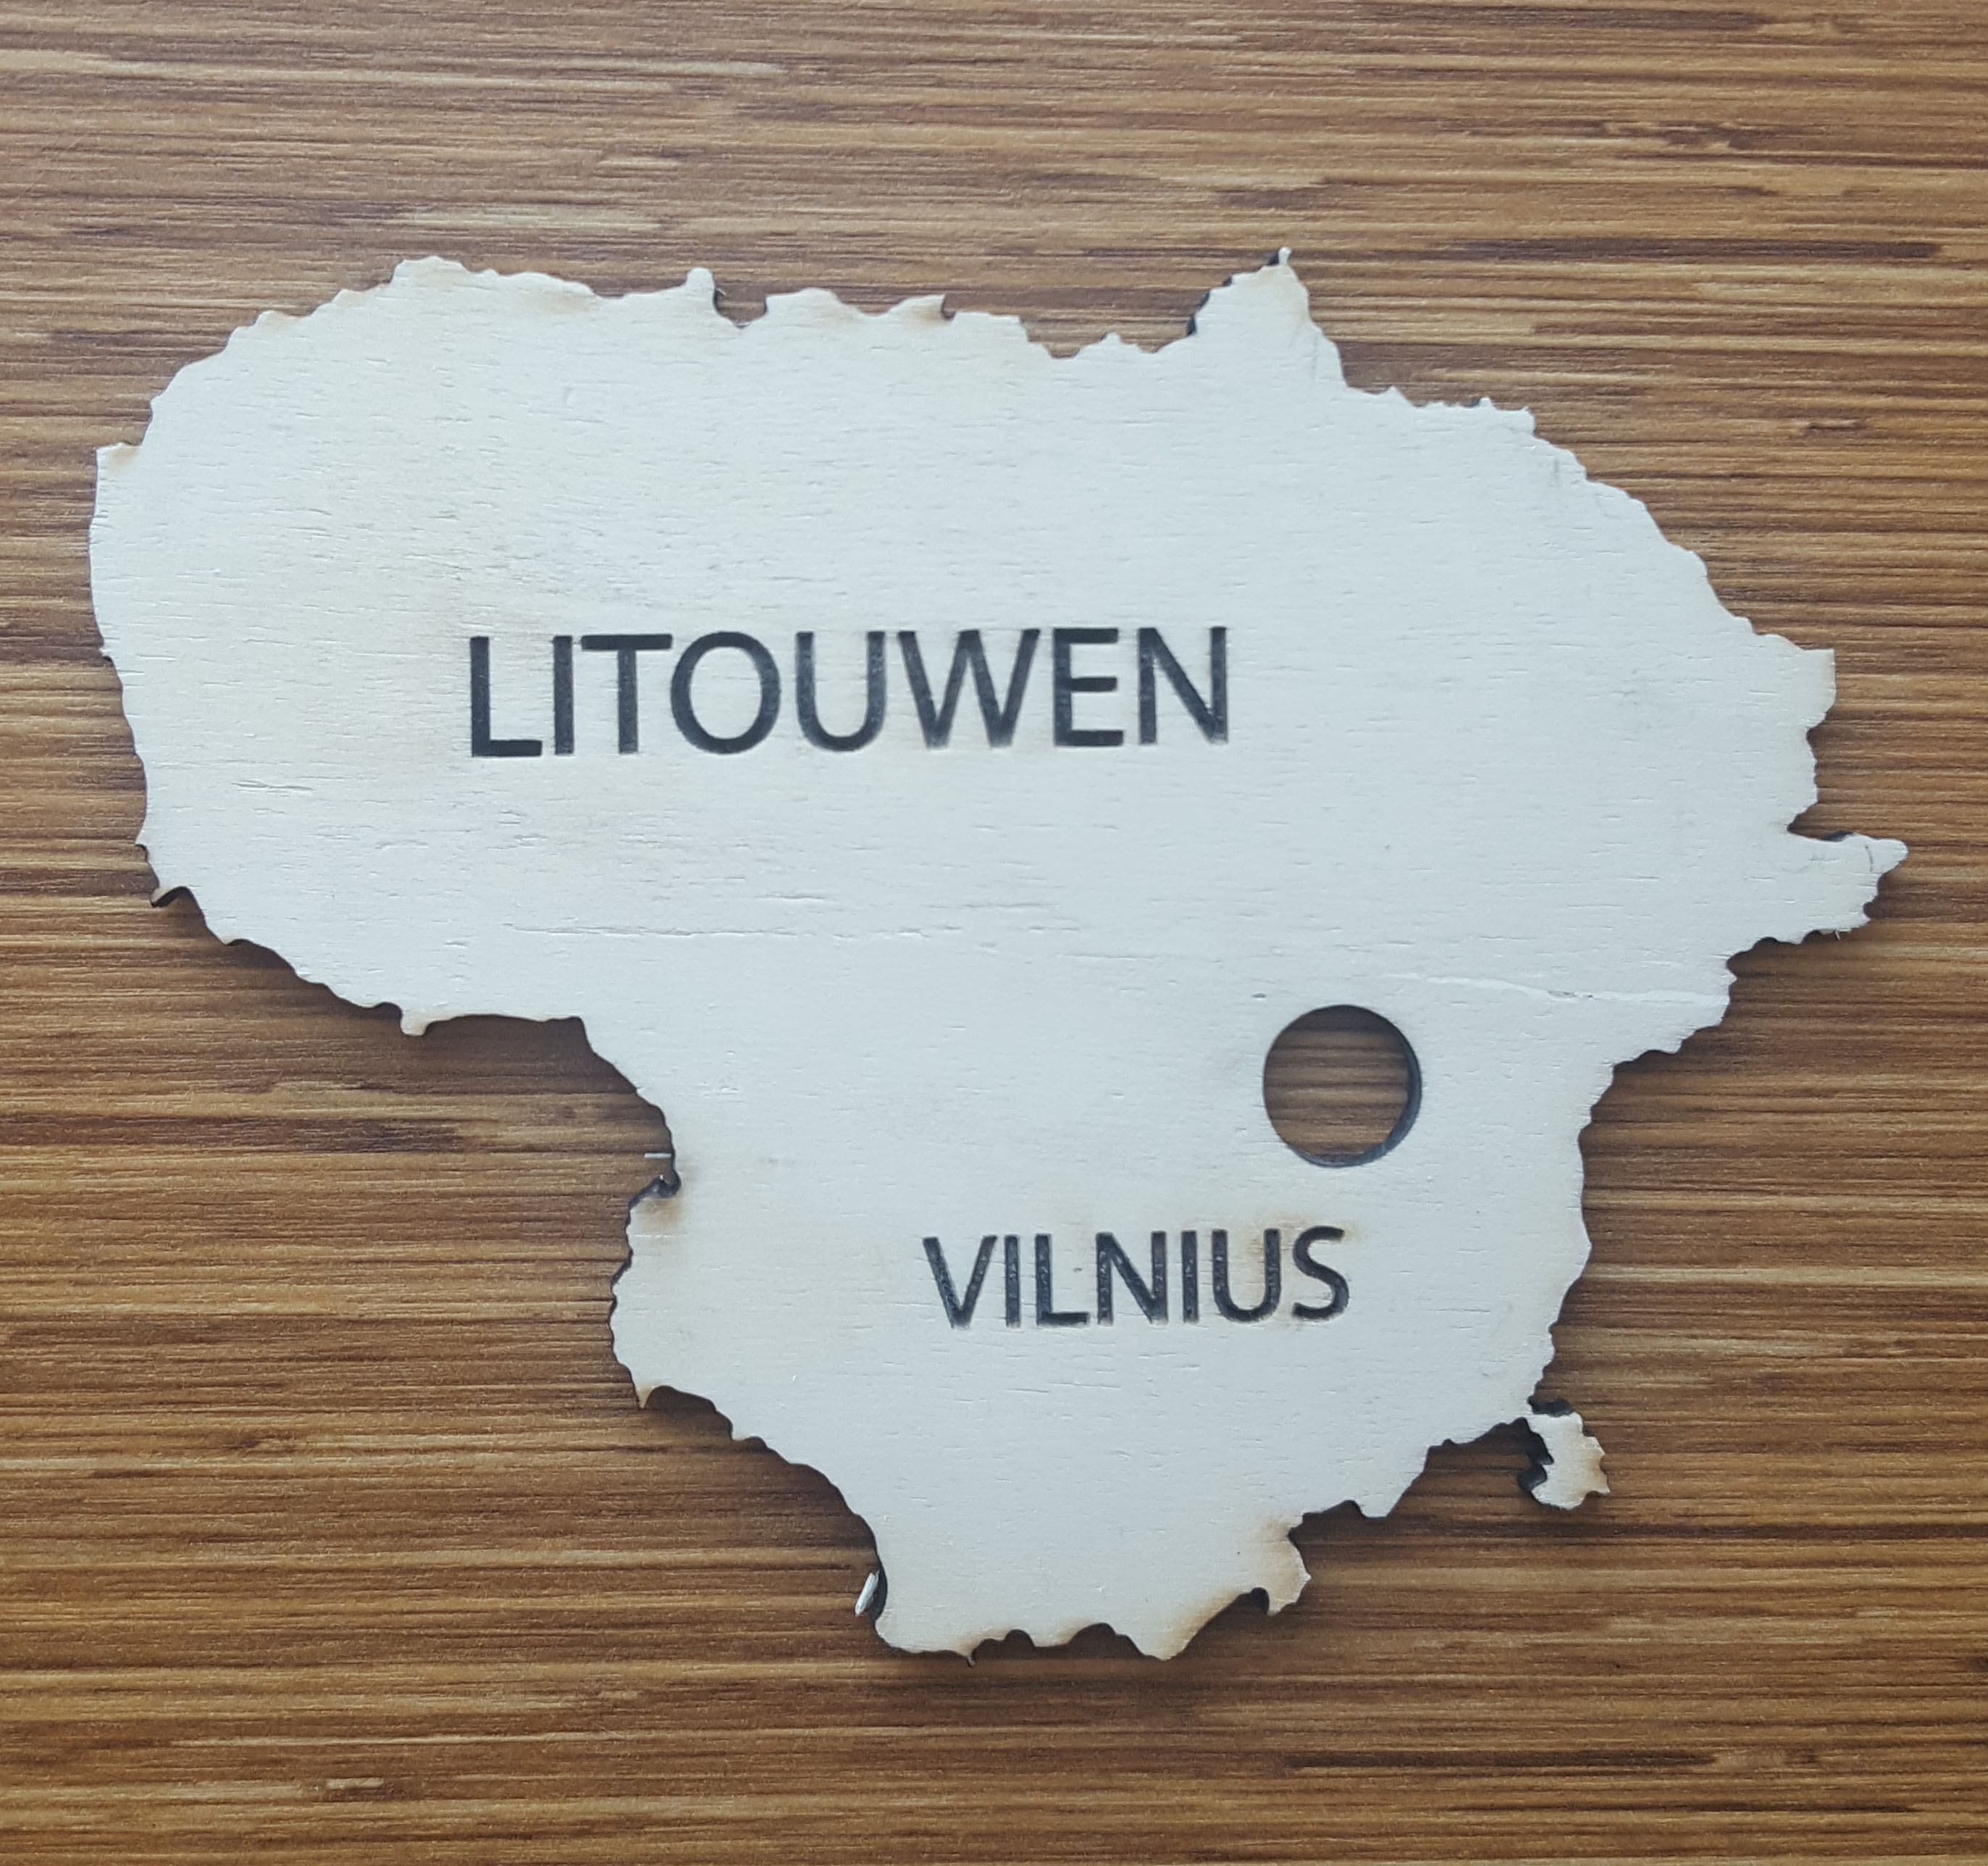
The story behind Lithuania
After finishing school Katharina went to Lithuania on her own. This was her first step in becoming an adult. She stayed there for a whole year at a host family. This trip helped her in many ways, because she was very insecure about a lot of things. The trip gave her the confidence she needed and made her more independent.
She planned the trip all by herself and even went back a few times after. She had the time of her life there and made a lot of friends. In hard times Lithuania is a reminder of what she is capable of. Maybe in the future she will go back to Lithuania.
At first I was looking for an image of Lithuania to make a Vector Drawing. I wanted to laser cut Lithuania so it matches the rest of the portrait. I found an image on "depositphotos.com" and made a Vector Drawing with
Treshold-Black&White. (see image 13)
I removed all names and surrounding countries, because I only want the circumference of Lithuania. I added Litouwen and Vilnius to the drawing. (see image 14)
I wanted to test engraving with the laser cutter. Later I realized that I wrote "Litouwen" instead of the English version "Lithuania". The order of cutting and engraving is very important to get the best result from the laser cutter.
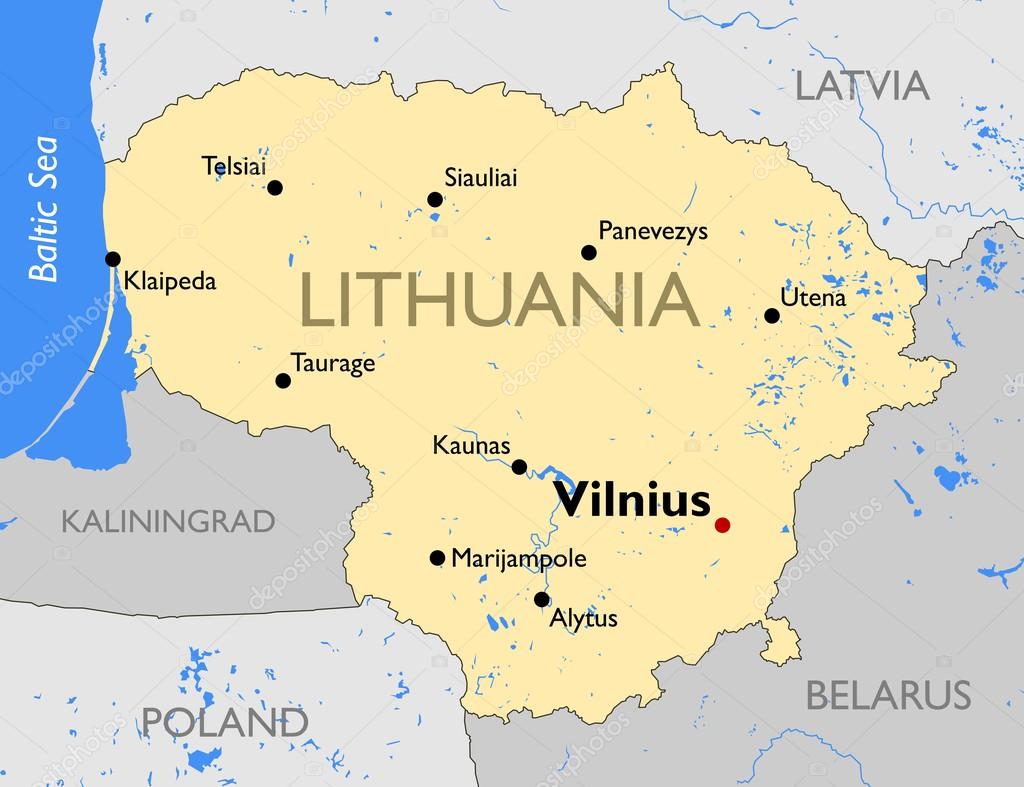
12. Map of Lithiania
Source
13. Vector Drawing Lithiania with Treshold-Black&White
Made by: Melissa de Bie
14. Laser cut file
Made by: Melissa de Bie
15. End result laser cut piece.
Made by: Melissa de Bie
I found some black foam that can be used as conductive material. I stuck the foam behind the face with seconds glue. I like the result, but I wasn't sure how to connect everything with the Arduino. So I made a wooden background and drilled holes in it. ( see image 17)
Before I drilled the holes I positioned all the parts that I have produced so far. I wanted to bring the conductive materials to the back and than connect the Arduino cables. For Lithuania and the cloud i used copper tape as conductive material.
The front of the board was a bit boring. So I glued colored paper over the wooden board. I chose the color lilac because it goes well with the rest of the portrait. In the corner I engraved the full name of Katharine, so it would be clear who the portrait is for.
16. Face of Katharina with conductive material.
Made by: Melissa de Bie
17. Backgournd board with holes for the conductive material.
18. Pulling the conductive material through the holes.
11. Wooden piece to create a pop-up effect for the restaurant logo
Made by: Melissa de Bie
Made by: Melissa de Bie
Made by: Melissa de Bie
THE END RESULT
Sharing the Arduino
In the weekend Katharina took the Arduino board home. So I had to send the sounds to her through Whatsapp. Katharina used arduino numbers 1 till 4, and I used number 5 till 8.
Was a short introduction about Katharina with her own voice.
The Lithuanian national anthem.
Restaurant sounds from people eating, laughing and talking
One of Katharina's favourite songs.
Sound 1:
Sound 2:
Sound 3:
Sound 4:
1
2
3
4
HOME
MAKER SKILLS & ATTITUDE
COLLABORATIVE LEARNING
I've learned to work better with Illustrator. I didn't know that it was so easy to make a vector drawing from a drawing by using ''Image Trace''.
Learning how to work with the laser cutter went pretty well. I think that by repeating it a lot it will eventually stick to operate the laser cutter faster.
Sometimes the laser cutting program can't find your file. Best to save your Illustrator file is as "Illustrator 8'' file.
Sometimes the laser cutting program can't find your file.
Unfortunately I haven't quite mastered the Arduino board yet. But I hope in time that this will happen again.
The cooperation went very well. It took some getting used to, because I didn't know anyone in class. Katharina seemed to me to be someone who stays calm in times of stress. And sometimes I need that because I can stress quickly.
What I did regret was that I didn't learn to work with the Arduino very well. Katharina has worked with it before. So she took the lead, which is not necessarily a bad thing, but because of this I didn't learn very much.