WEEK 7
Cultural Interfaces
ASSIGNMENT
MINOR MAKERSLAB
2019
PART 1: With the skills attained in Electronics week, use an analog or digital sensor to capture any subjective data (e.g. responses to a question, the distance of peoples preferred personal space, stress levels, ...) and visualize this data in a meaningful way using Processing.
This is an individual assignment that is meant to get each of you comfortable with the very basics of visual programming. Some of you may have some experience in (Arduino or Javascript) coding; we challenge you to try and take your visualization a step further - e.g. calculate the average of the data captured, use arrays etc.
PART 2: Empower your public/users to make up their own mind, and be as transparent as you can be about the perspective you took, the data you used, the relationship between the system and its parts (hardware, software) and the assumptions and limitations connected to the interface. Let this week's readings inspire you!
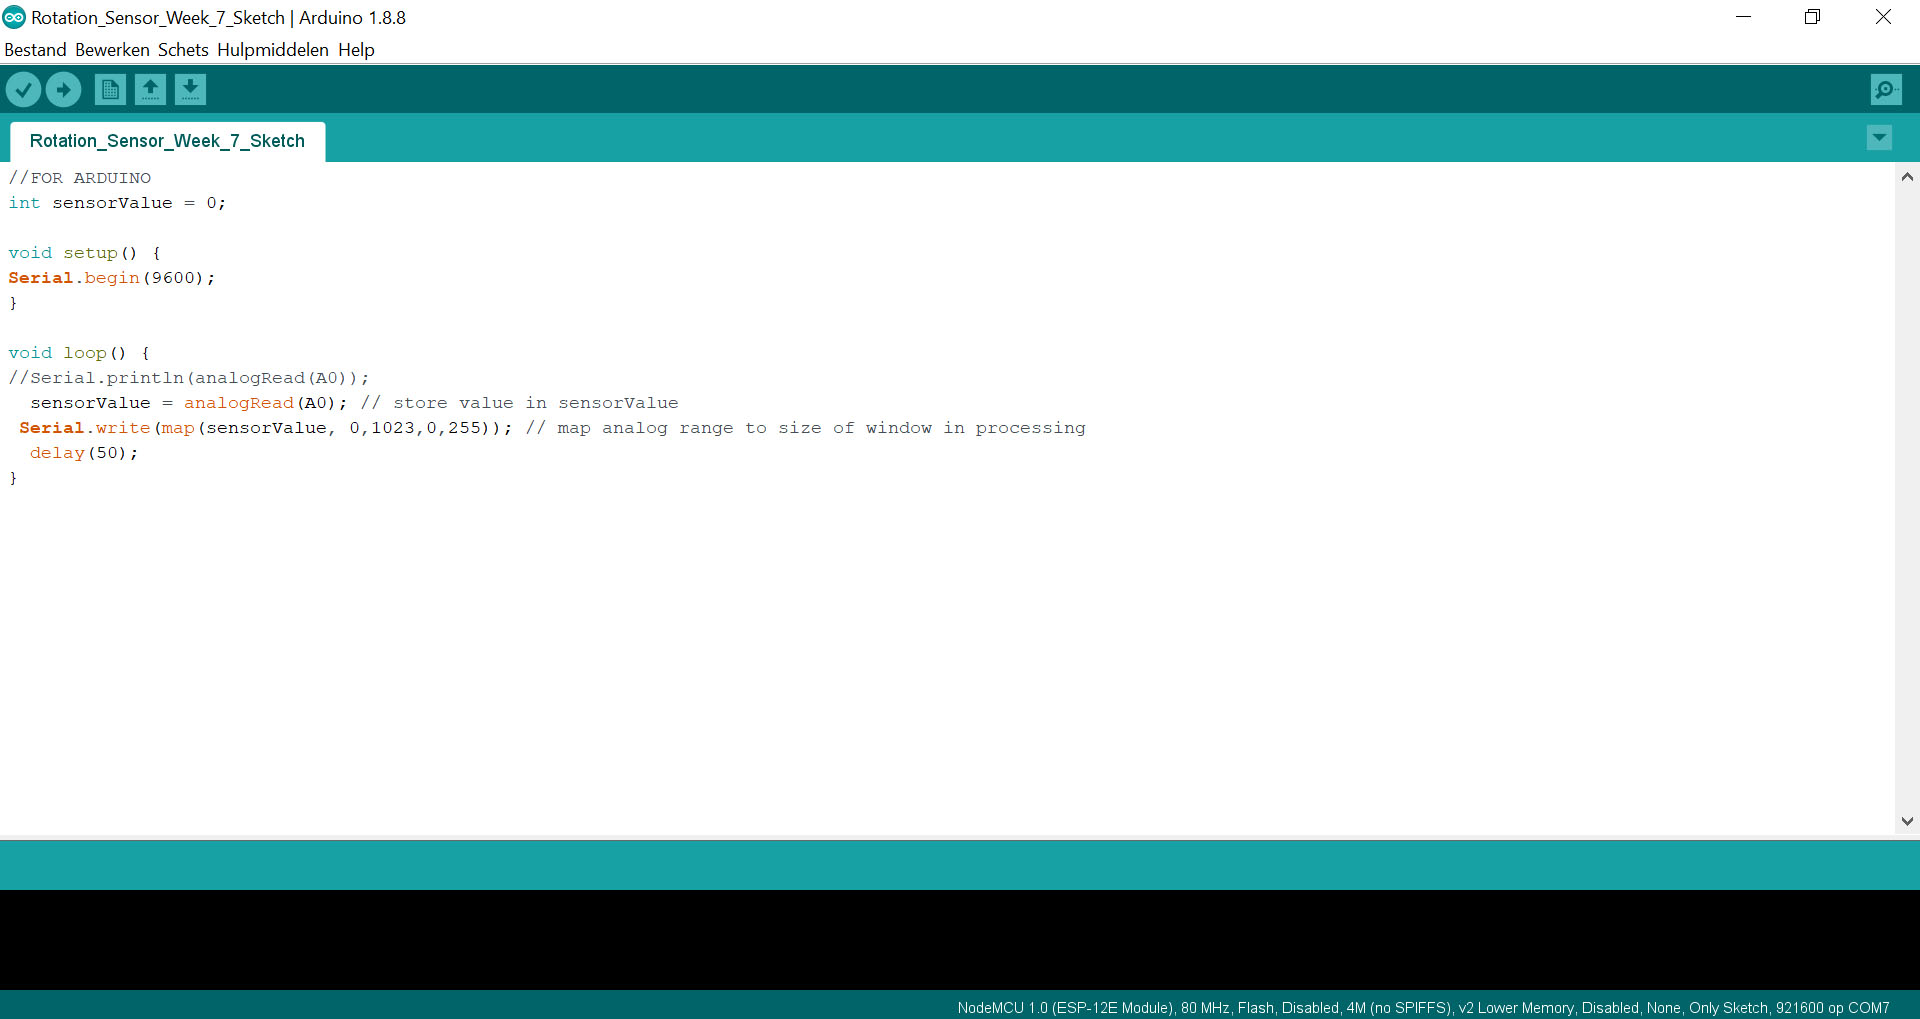
//FOR ARDUINO
int sensorValue = 0;
void setup() {
Serial.begin(9600);
}
void loop() {
//Serial.println(analogRead(A0));
sensorValue = analogRead(A0); // store value in sensorValue
Serial.write(map(sensorValue, 0,1023,0,255)); // map analog range to size of window in processing
delay(50);
}
I'm a bit scared
for this weeks assignment
ARDUINO CODE
In the beginning I was very scared for this assignment. We had worked with Arduino in week 1, but then Katharina took the lead. For this assignment we didn't have to work in pairs and that frightened me even more. Luckily Loes was there to help. After she sat with Asle for a while, Asle shared his code on slack.
In week 6 I used a Capacitive Soil Moisture Sensor, but I decided to switch to an analog rotation sensor. I did this because I find programming very difficult and I didn't wanted to make it more difficult than it already is...
CHANGING SENSORS
PROCESSING
The first day of week 7 we got an introduction lesson from Moritz about Processing. Because of his step-by-step plan I understood it a bit better, but I still thought it was pretty vague.
Useful Website
WORKSHOP BY MORITZ
PROCESSING API
color c1 = color(245,12,112);
PImage img;
void setup() {
size(768, 768);
background(112,112,112);
img = loadImage("paint.jpg");
background(img);
}
void draw() {
fill(color(255,0,0));
noStroke();
ellipse(400,400, 250, 250);
fill(color(0,255,0));
triangle(50, 70, 70, 70, 50, 50);
}
import processing.serial.*;
Serial myPort;
int dataInput;
PImage img;
void setup() {
size(768, 768); //size interface in px
String portName = Serial.list()[0];
//String portName = "COM7"; //change to your port address!
myPort = new Serial(this, portName, 9600);
}
void draw() {
background(0);
img = loadImage("IB.png");
background(img);
fill(color((255 - dataInput/3),dataInput/3,0)); //dataInput is 605/3
rect(width/2-25,768, 48, dataInput*-1); // use the dataInput to positionn the rectangle on the x,y axis
println(dataInput);
}
void serialEvent(Serial myPort) {
dataInput = myPort.read();
dataInput = dataInput * 3;
dataInput = (int)map(dataInput, 0,767,0,608);
}
The beginning is there...
MAKING THE INTERFACE...
Before designing the interface, I had to think of a question that will be based on the interface. I managed (with a little help from Kai) to extend a square while rotating the rotation sensor. That's why I wanted to design an interface that would fill a tube. (See image 4)
I came up with the question: How happy are you today?
And from here I wanted to look for a suitable background to continue with. I found a picture online that I wanted to tweak a bit. (See the image below)
Source
Source
I deleted the background and made it blue with the Gradient Tool in Photoshop
Positioning of the tube, exactly at the coordinates of the processing file.
I removed the white background in Photoshop.
Source
After I made the interface I wanted to test it.
But the image didn't work...
I made the background exactly the same size as my processing file. Strangely enough the file got a bit bigger when it was saved as JPEG. Then Kai gave me the tip to save it as a PNG file.
And this did work!
THE END RESULT
HOME
https://ezgif.com
Based on my chosen interface, I want people to check how they feel.
Everybody has a bad day now and then, but by indicating this, people know how to react to you and you become aware of how happy you feel. In the long run this could mean that if someone continuously indicates that they are doing badly, you can intervene to offer that person help.
I have chosen for 3 smileys. Red stands for unhappy, yellow stands for neutral/normal, and green stands for very happy. Everything that is chosen between the red and yellow smileys is not too good.
I chose the color red, because red is associated with: being angry, stopping at the traffic light or being wrong.
While green stands for: You've made it, good, happy, Keep going.
Hardly anyone feels very happy, but everyone should at least feel comfortable in their own skin. That's why everything between yellow and green is a good area to sit between.
So the real question is yours: How are you feeling today?
COLLABORATIVE LEARNING
With processing week I actually felt pretty alone. In my opinion, this was the most difficult subject, and it was precisely this assignment that you had to work alone.
Of course there are other people around you who are struggling just as hard as you are, but I personally thought that a little more guidance could have helped. Fortunately, Kai was able to help me a lot. For him it's something he does every day, but for me programming was something completely new.
When I was programming, I didn't really feel like I knew what I was doing. And when I get this feeling, I get a lot of stress and shut down.
If I really want to understand programming, I need to know better what I'm doing. And it's funny how sometimes you find mistakes in other people's work quicker than by yourself. The best way to learn programming is to practice a lot and to be with someone who knows a little bit about it and has more insight.
Unfortunately, I can't say much about programming. I myself found it very difficult to understand.
I did remember the simplest things like:
R,G,B, = Red, Green, Blue
Red: (255, 0.0)
Green: (0,255,0)
Blue: (0,0,255)
Black: (0,0,0)
White: (255.255.255)
The colour settings must always be above the shape.
Int: are always whole numbers
String: his words
Void Draw is the same as Void Loop
The size of the background must be exactly the same as the interface.
If the interface does not work, try saving it as PNG.
MAKER SKILLS & ATTITUDE